
Translated material
How to use gel painting for nail design
Why use only one color if you can apply two or three? Bright manicure is an ideal means to attract attention.
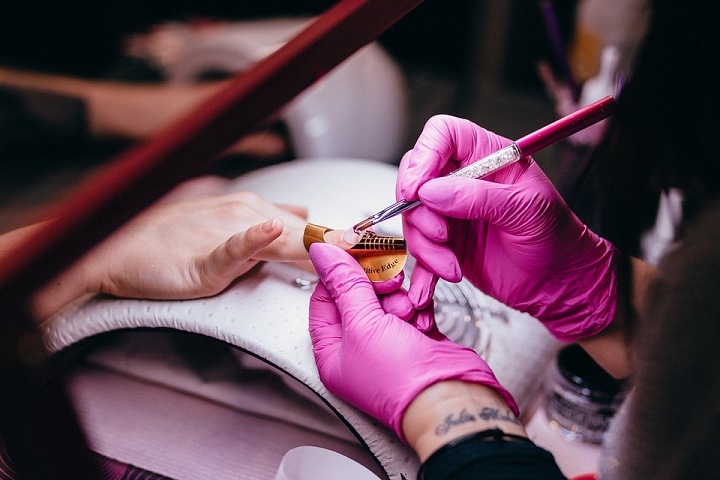
To improve the drawing can be a little complicated, especially when you are under the vigilant gaze of your customers.
Here are a few tips that will help you learn to draw design with nails with nails that your customers will love.
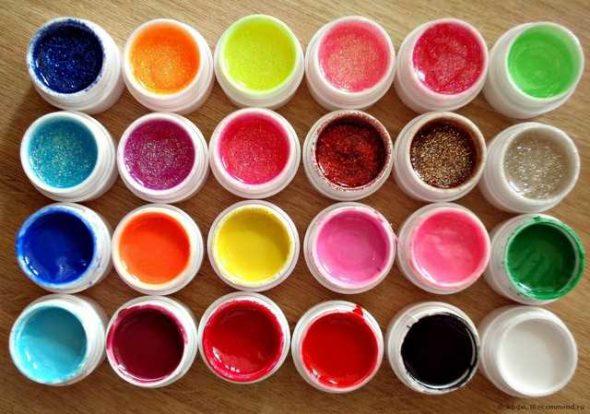
Creation
Before mixing, it is important to consider several details. For example, the choice of color can create or distort the design, so when choosing colors, choose shades similar in tone and brightness.
When the gel paint is taken, choose vapors of flowers that are already a good addition to each other, such as pink and orange or turquoise and blue, as it will be easier for you to mix these combinations.
However, when you master gel paints, try more bold combinations of colors, such as black and white, so that the nails of your customers look saturated.
The shape of the nail of your client is another important factor for consideration.
Longer nails look beautiful with a thin, minimum style, while shorter nails go well with dark color mixtures.
After they chose their colors and appreciated the shape of the nail of your client, it is time to try one of the following methods of applying gel paint.
Method 1: Sponge style
This design technique works best with traditional nail coloring.
Take a makeup sponge in the shape of a wedge and two color shade, and follow the following steps to create the perfect drawing.
Before starting, cut a thin strip of makeup sponge. This will help save the design and minimize the cleaning on the surrounding skin.
After applying the base layer, apply one thin layer of the lightest paint on the nail.
Draw parallel horizontal stripes of each of your colors nearby directly on the surface of the makeup sponge.
Lightly tap with a sponge on the nail, re-applying gel painting on the sponge as necessary (usually after 2-3 nails). By pressing the sponge, slightly move it up and down the surface of the nail plate to cover the areas where the colors converge.
Repeat the fourth step until you build a drawing to the desired level of saturation.
If any gel-color gets on the surrounding skin, use a cotton swab dipped in a varnish to clean the surface.
Finish the image, applying a glossy top for the perfect shine!
Method 2: matte mixture
Brushing application technique is the best way to get a perfectly mixed pattern using gel polish.
All you need is two colors of gel paint and a bottomless napkin for nails.
After applying and curing the base layer, use one of the gel-paints you have chosen on the left side of the nail, slightly overlap the vertical axial line.
Apply the second color to the right side of the nail, and then use a polishing brush to mix two colors in the center of the nail, stroking several times along the central line, until the uncontrolled colors begin to mix. Be sure to wipe your nail brush with a bottomless napkin before returning it to the bottle so that the paint does not mix.
Remove excess gel polish from the surrounding skin, and then dry the first colored layer in your LED or UV lamp (at least 1 minute).
Repeat the second and third steps to provide a good color coating and a smooth, mixed center.
Apply the top layer of gel polish and dry again. Clean the nail and apply nutritious material for the cuticle.
Choosing the best equipment for the best product, you will get excellent results.
Of course, the work is being improved, but if the master follow these tips, he will quickly learn to use gel paints for nail design.